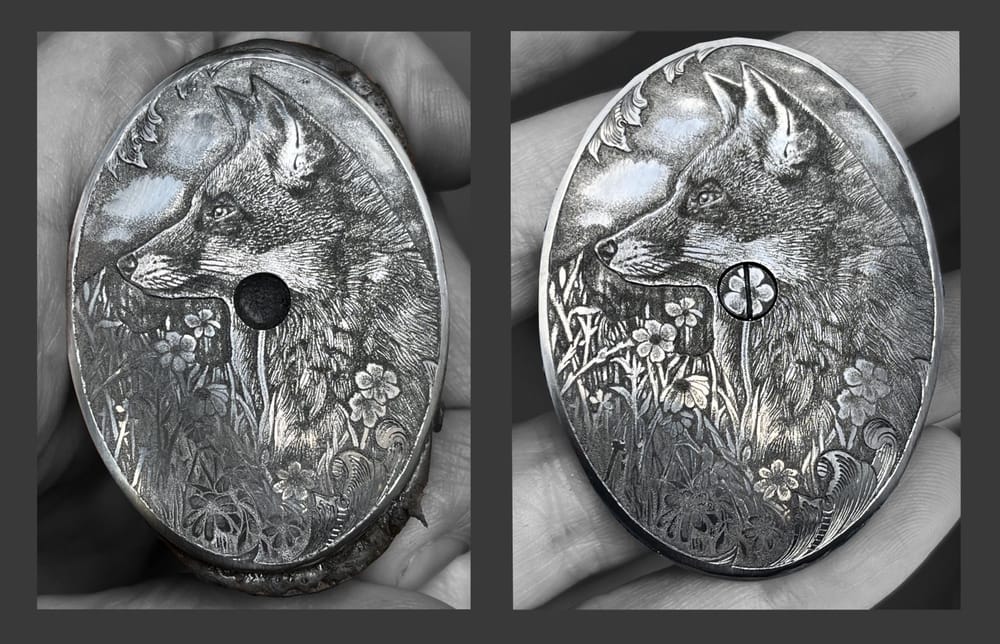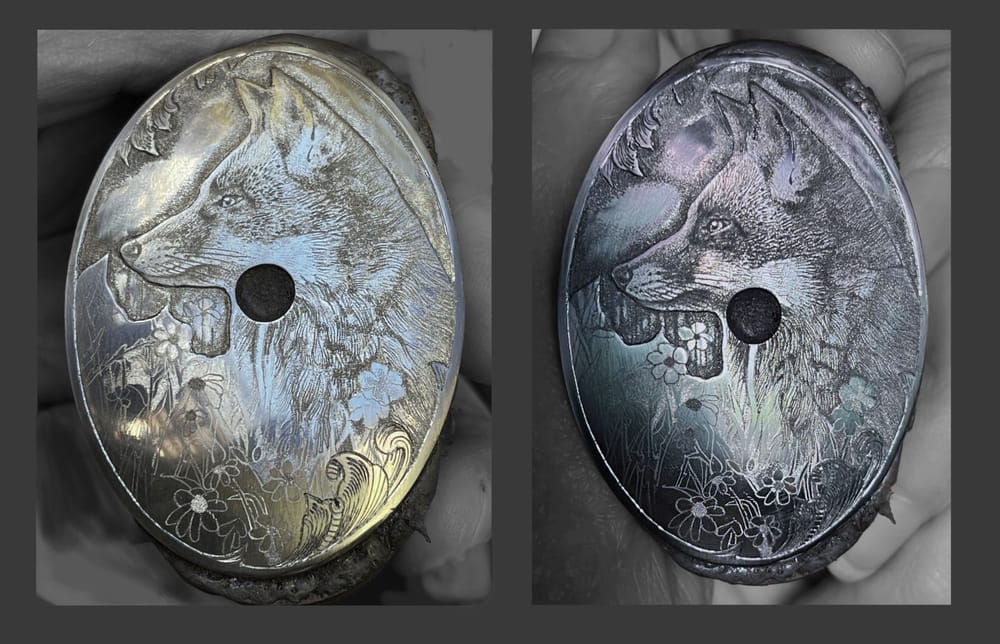
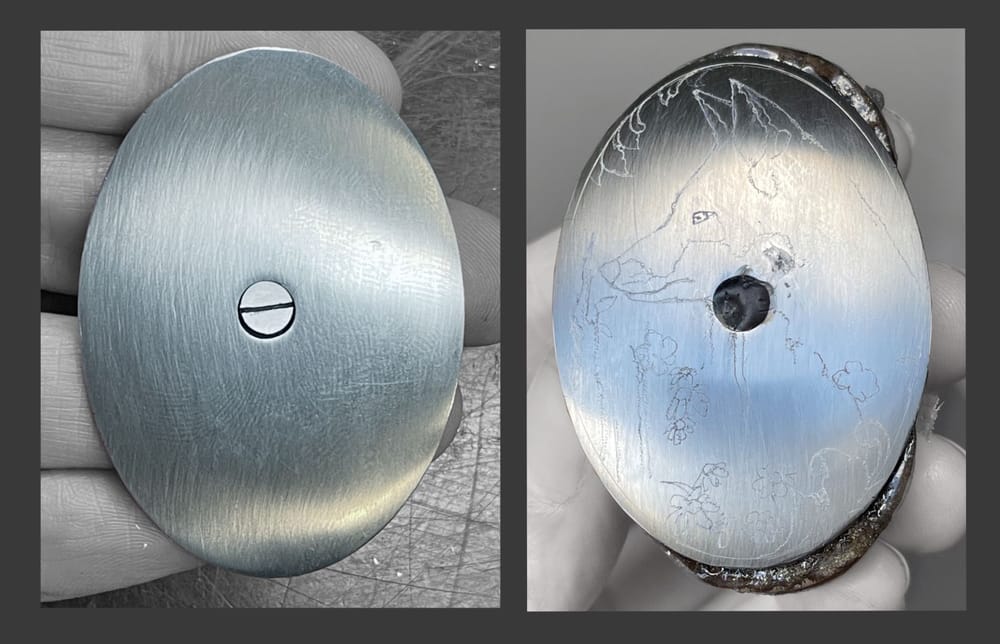
A few months ago I took on an interesting commission with a small challenge: engraving a fox on a grip cap without the screw in the centre of the metal surface getting in the way. In theory the whole surface could be engraved so that the screw blends into the design, but it would never disappear completely into the background, because the cuts around the screw would always show (first photo).
Stages
The only option was to use the round shape of the screw and even emphasise that it is a separate element. The solution suggested itself: a classic engraver’s trick, the thread “turned” into a flower :). And once there was a flower, the fox naturally had to be set in a flowering meadow. The next logical step was to frame the animal up close, so that the proportions of the flower and the fox stayed natural.
I prepared several designs (different versions of the fox), and the client chose one. We also agreed that the grip cap would not have the usual gold-inlaid frame. The rest went smoothly and quickly: the cap was fixed to a piece of wood for stability and the design was drawn out. The surface of the grip cap was unusually large (about 5 cm) and the fox was shown up close, which gave plenty of room for detail. The old rule applies: the closer the framing, the more detail you can bring out and the more striking the result…
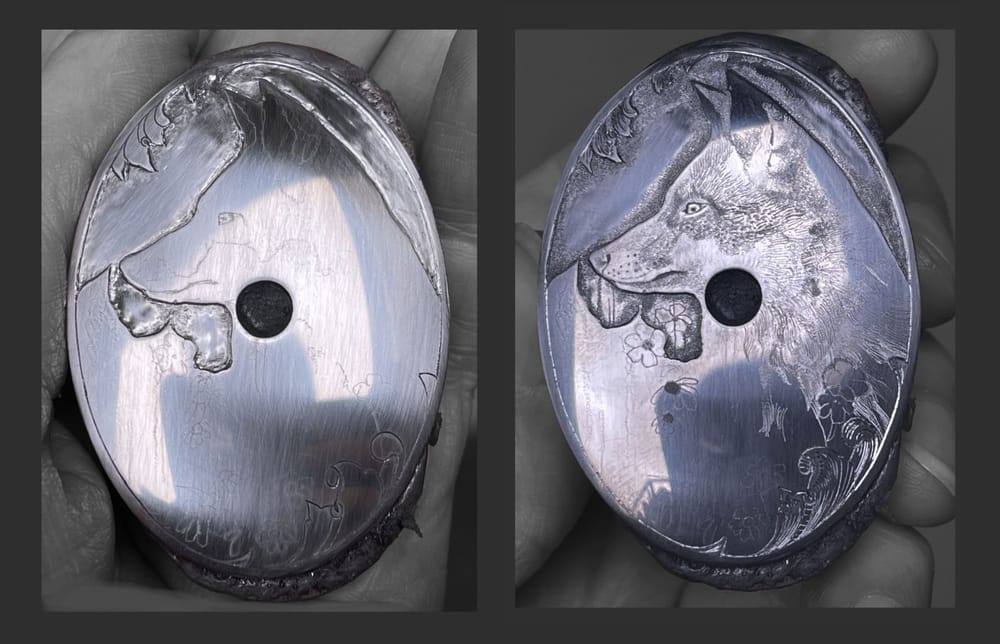
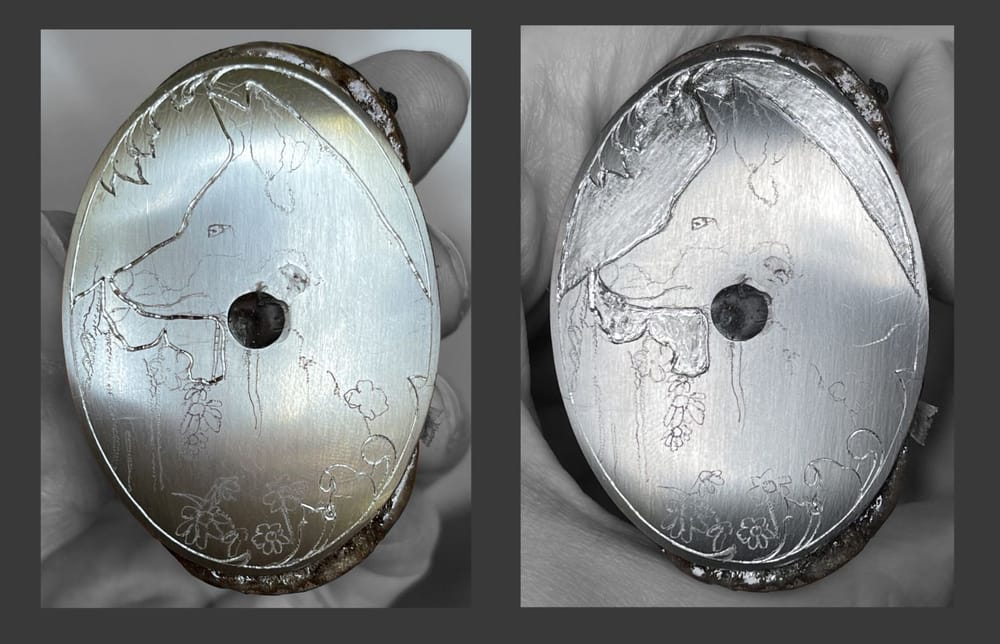
The next stages were drawing the motif with a scriber and then cutting the outlines that border the removed background with a faceted graver (next photos). I then removed the top layer of metal where the background was to be, and smoothed that area with sandpaper, the most tedious part of the whole job. Once the surface was reasonably even and polished, I could concentrate on gradually reproducing the motif with the bulino method. Part of the work was done under a microscope and part with a magnifying glass; the whole job took about three days.